Overview
Gasket failures are rarely the gasket's fault. In the failed joints we examine, 80–90% trace back to installation errors, wrong material selection, or poor flange condition — not to the sealing element itself. Knowing which failure mechanism you're looking at is the first step toward a permanent fix.
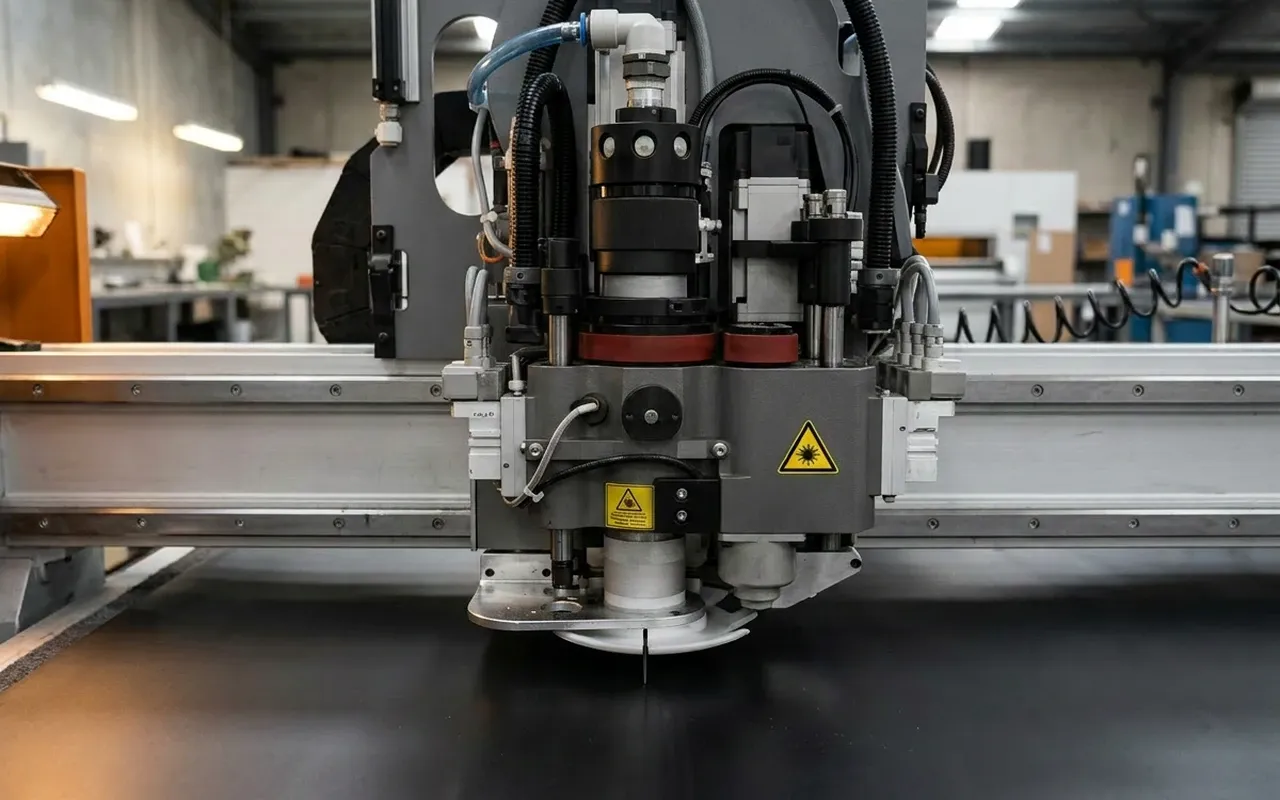
This guide details eight distinct failure modes using high-fidelity animations to demonstrate the mechanical and chemical realities inside the flange joint. You can also use our Quick Diagnosis Matrix to map your observed physical symptoms to the probable root cause.
Installation & Mechanical
Bolt load failures — insufficient compression, excessive compression, and long-term creep/relaxation.
Selection & Equipment
Material, environment, and flange condition failures — chemical attack, thermal degradation, extrusion, and surface damage.
Engineering Insight
We get asked "why did my gasket fail?" more than almost anything else. Our answer is always the same: send us the failed gasket. Keep it, note which way it sat in the flanges, and photograph the flange faces before cleaning them. The deformation pattern, chemical staining, or thickness variation tells us exactly what went wrong.
Installation & Mechanical Failures
These account for the majority of leaks we investigate, and they all come down to bolt load. Too little, and the joint never seals. Too much, and you've destroyed the gasket. The right amount, applied correctly — but lost over time.
Under-Compression
The single most frequent cause of joint leakage. Insufficient bolt load means the gasket material is never compressed enough to conform to the microscopic irregularities of the flange faces. That leaves an immediate, direct pathway for media to escape.
Observed Symptoms
- • A visible gap between the gasket surface and flange face.
- • Active seepage, weeping, or spraying at the flange joint.
- • The removed gasket appears virgin and completely uncompressed.
- • Nuts and bolts are visibly loose or easily turned by hand.
Root Causes
- • Insufficient or uneven initial bolt torque.
- • Failure to execute a secondary re-torque after initial joint settling.
- • Incorrect cross-pattern tightening sequence leaving one side loose.
- • Specifying a gasket material far too hard for the available bolt load.
Over-Compression
Excessive bolt load structurally crushes the gasket beyond its elastic recovery limit. The material splits, loses all resilience, and heavily extrudes radially. A crushed gasket cannot maintain a dynamic seal during operational thermal or pressure cycling.
Observed Symptoms
- • Gasket is visibly crushed flat or paper-thin in the primary sealing area.
- • Deep radial cracks running outward through the gasket body.
- • Material heavily extruding and bulging beyond the flange outer diameter.
- • Permanent deformation with an absolute loss of material spring-back.
Root Causes
- • Specified torque values heavily exceeded (severe over-tightening).
- • Uncontrolled, unmeasured use of impact tools or cheater bars.
- • Specifying a soft gasket material (e.g., standard rubber) for a high-pressure class flange.
- • Using raised-face gaskets on flat-face flanges, concentrating force improperly.
Creep & Stress Relaxation
This mode occurs in joints that were torqued perfectly at installation. Over time, the physical gasket material gradually cold-flows under the sustained compressive stress. As it thins out, the vital bolt load holding the joint together dissipates, eventually leading to a leak. This process is highly accelerated by elevated temperatures.
Observed Symptoms
- • Joint was hydro-tested and verified leak-free at start-up, but leaked later in service.
- • Fasteners are found to be far below their initially specified torque upon re-checking.
- • The removed gasket is noticeably thinner overall than originally specified.
- • Complete absence of any chemical attack, burning, or physical blowout signs.
Root Causes
- • Using cold-flow-prone materials (e.g., virgin PTFE, thick soft rubbers) without accounting for relaxation.
- • Complete failure to execute a 24-hour or post-thermal-cycle scheduled re-torque.
- • Elevated process temperatures accelerating the material's natural creep rate.
- • Heavy background system vibration slowly vibrating threaded fasteners loose.
Material & Environmental Failures
When we get a swollen, hardened, or chemically-eaten gasket back for analysis, the answer is almost always upstream — the material couldn't survive the service it was specified for. These are design-phase failures, not bolt-up failures.
Chemical Incompatibility
Chemical attack happens when the process media reacts with the gasket material. The result depends on the chemistry: the seal might swell, soften to a sticky paste, harden and crack, or dissolve altogether. Once the material's structural integrity is gone, the joint leaks.
Observed Symptoms
- • Heavy, unexpected discolouration or staining of the core gasket material.
- • Massive volume swelling (gasket appears twice as thick and feels mushy).
- • Gasket disintegrating, crumbling into powder, or turning to an adhesive paste.
- • Surface blistering, deep crazing, or severe embrittlement of elastomers.
Root Causes
- • Fundamentally wrong material specified for the baseline process chemical.
- • Failure to account for highly aggressive CIP (Clean-in-Place) acid/alkali flushes.
- • Unexpectedly high concentrations or temperatures exponentially amplifying the attack.
- • Trace tramp chemicals or system impurities reacting destructively with the elastomer.
Thermal Degradation
Operating a material beyond its rated maximum continuous temperature physically destroys its structure. Elastomers bake hard and shatter like glass, PTFE cold-flows aggressively, and non-asbestos fibres carbonise. Rapid thermal cycling further compounds this by actively loosening flange bolts.
Observed Symptoms
- • Gasket is rock hard, perfectly brittle, snapping audibly upon removal attempts.
- • Material looks visibly charred, burnt, deeply discoloured, or entirely black.
- • Heavy geometric cracking present with no visible signs of mechanical crushing.
- • Joint fails suddenly and catastrophically immediately after a thermal shutdown/startup cycle.
Root Causes
- • Continuous operating temperature well above the material's rated threshold.
- • Unaccounted temperature excursions (e.g., steam flushes, process spikes).
- • Rapid thermal cycling causing flange expansion and bolt loosening.
- • Using standard rubbers or basic fibres where the duty calls for graphite or high-temp alloys.
- • Operating beyond the flange's pressure-temperature rating — the class may permit the temperature, but not at the concurrent operating pressure.
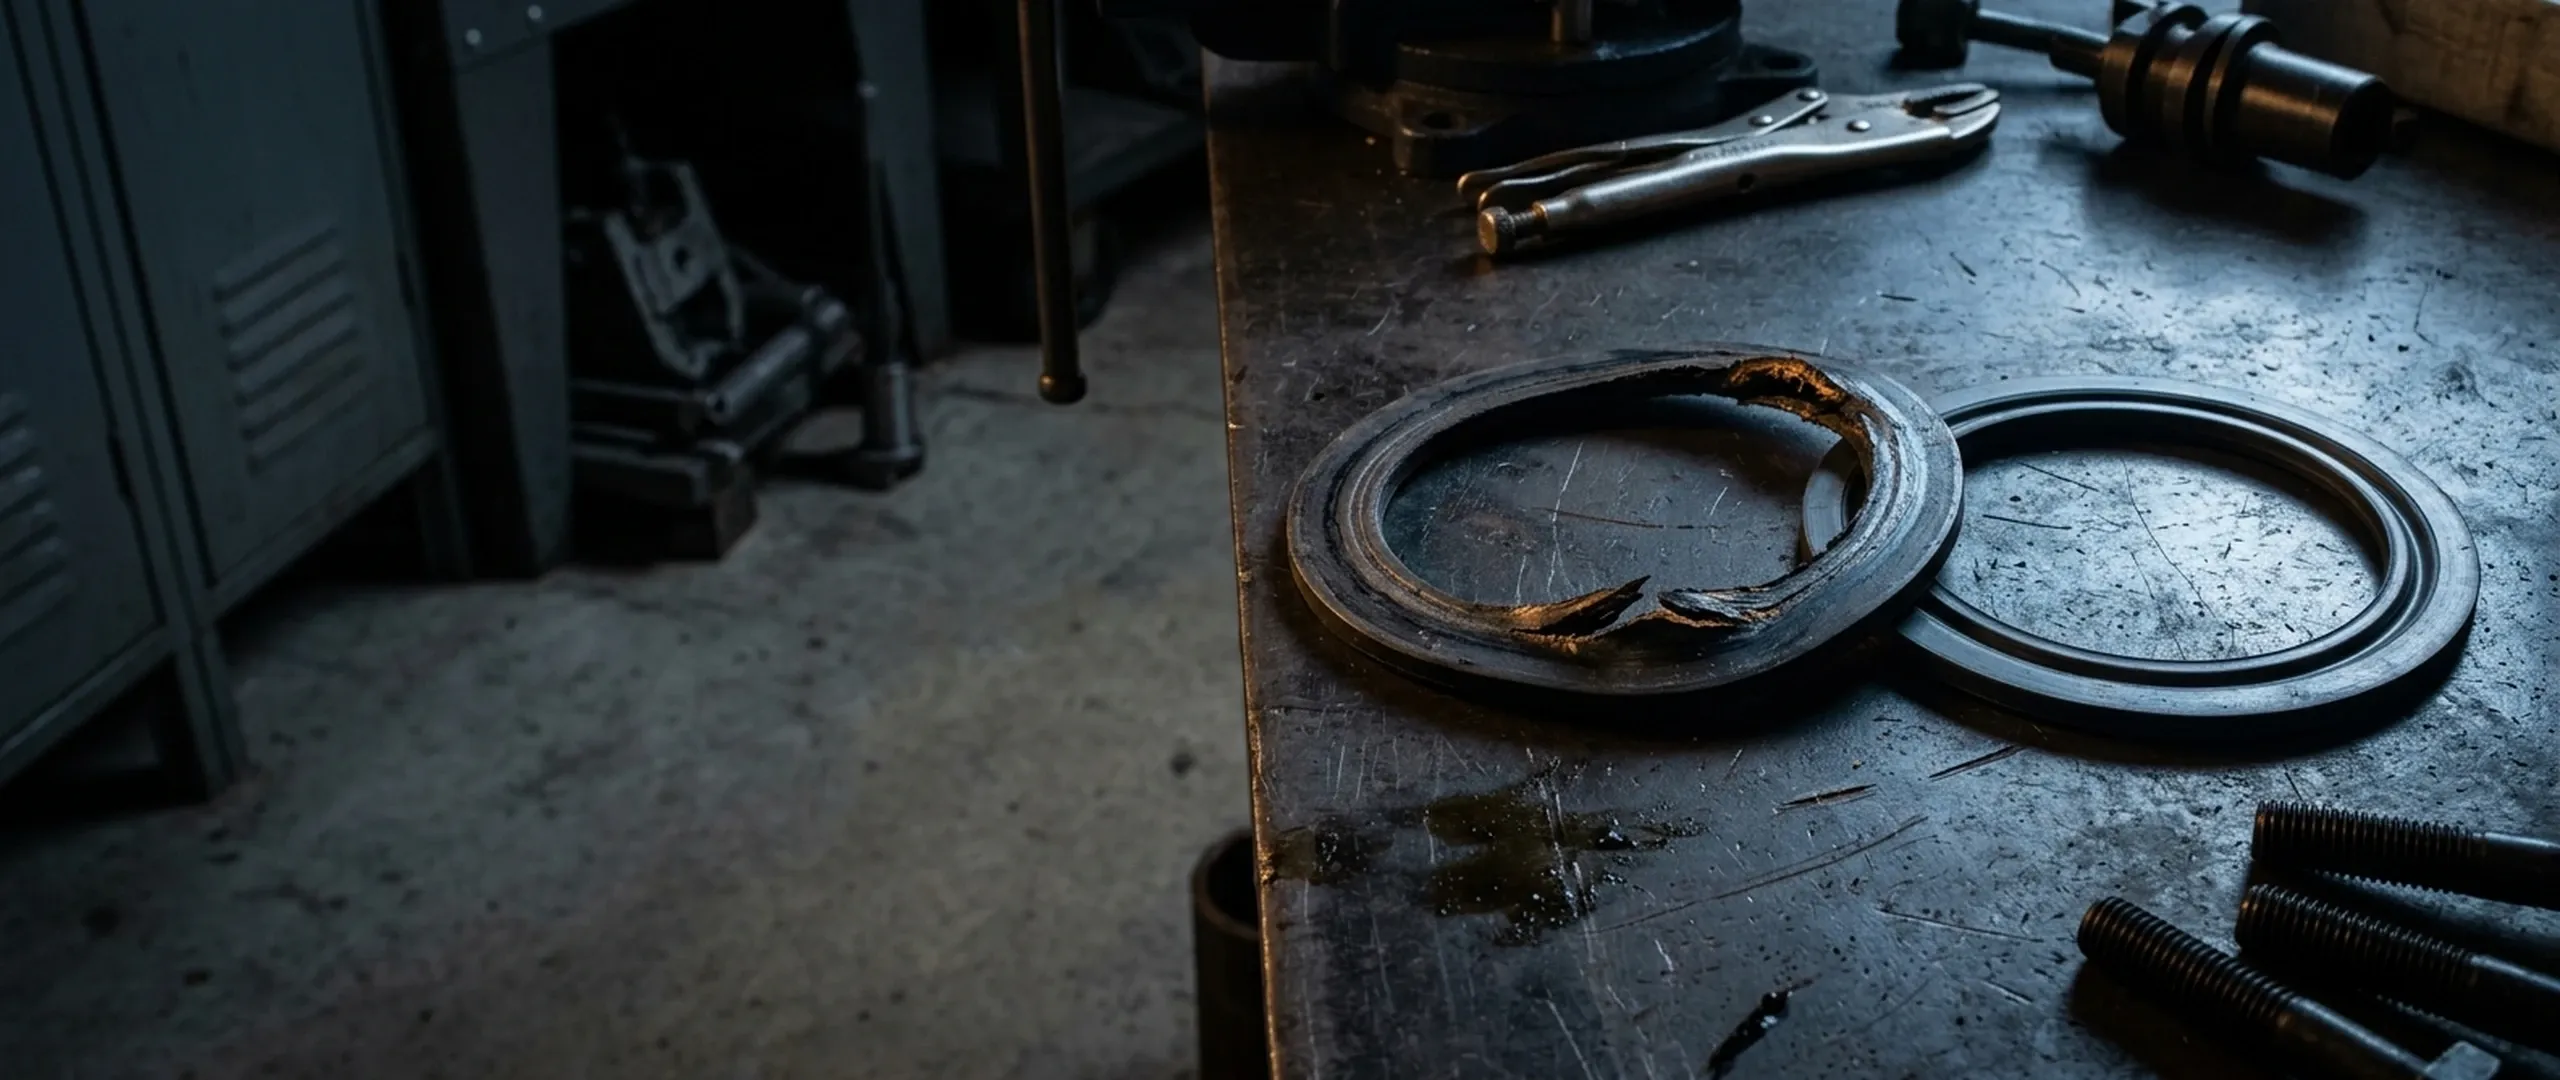
Extrusion (Blow-out)
High bore pressure pushes soft gasket material outward, trying to force it past the flange faces. Sometimes the extrusion is gradual — a slow creep over weeks. Other times the material blows out in a single event, and you've got a major leak on your hands.
Observed Symptoms
- • Gasket material distinctly protruding inward past the flange ID into the pipe bore.
- • The inner diameter is heavily torn, raggedly frayed, or physically "nibbled" away.
- • Complete missing sections of the gasket body indicating a sudden blowout.
- • Unexplained gasket fragments found caught in downstream filters, pumps, or control valves.
Root Causes
- • Operating pressure exceeds the gasket's burst strength rating.
- • Excessive clearance between the flange ID and the gasket ID.
- • Gasket material too soft or too thick for the operating pressure.
- • Using Spiral Wound Gaskets without inner rings in high-pressure or vacuum service — a common oversight we see.
Equipment & Flange Condition
Even the best gasket won't seal a damaged flange. Scratched faces, corroded surfaces, and pipe misalignment are equipment problems — no gasket material can compensate. Fix the flange first, then install the new seal.
Flange Surface Damage
Deep gouges, scratches, chemical pitting, and heavy corrosion on the flange face create leak paths that soft gaskets can't bridge. Radial scratches are the worst — running from inner diameter (ID) to outer diameter (OD), they give the media a direct escape route across the sealing face. In our experience, a single deep radial scratch is enough to kill the joint.
Observed Symptoms
- • Highly visible deep scratches, aggressive tool marks, or sharp scoring on the flange face.
- • Heavy rust pitting or deep eroded fluid channels present across the primary sealing area.
- • The freshly removed gasket visually shows an uneven, wavy impression contact pattern.
- • The leak is localized strictly and persistently to one very specific point around the joint.
Root Causes
- • Aggressive gasket removal — prying with screwdrivers or chisels gouges the face.
- • Using hard wire wheels that destroy the flange's phonographic finish.
- • Galvanic corrosion or prolonged media erosion acting directly on the exposed metal.
- • Trapped foreign debris, old gasket material, or hard weld spatter compressed during assembly.
Flange Misalignment
When flanges aren't parallel or concentric, tightening the bolts forces the gasket to compress unevenly — crushed on one side, gaping on the other. The bolts take uneven load too, and the loose side will leak. Every time.
Observed Symptoms
- • Physical flange gap is visibly and severely inconsistent around the entire circumference.
- • Nuts resist tightening heavily on one specific side compared to the loose opposite side.
- • Gasket is crushed paper-thin on one side, barely touched or completely unmarked on the opposite.
- • Massive heavy flanges "spring" apart violently and dangerously when unbolted.
Root Causes
- • Pipe strain from a poorly routed system pulling the joint out of alignment.
- • Uncompensated thermal expansion in long straight piping runs.
- • Foundation settling in older plant, or structural movement of connected equipment.
- • Rushed pipe fabrication or welding leaving the assembly permanently bent.
Prevention
Misalignment must be corrected at the piping level before bolting — never force-align flanges with bolt tension. Our Flange Installation Guide covers proper alignment verification, acceptable tolerance limits, and the correct bolt-up sequence to ensure uniform gasket compression.
Quick Diagnosis Reference
Use this high-contrast matrix to rapidly cross-reference your specific visual findings with the single most likely failure mode.
Installation & Mechanical
Under-Compression
Visible gap; loose bolts; absolutely no gasket compression.
Review bolt torque records & tightening procedures
Over-Compression
Gasket visibly crushed flat, split radially, or extruding.
Check applied torque vs. gasket material physical limits
Creep & Relaxation
Tight initially, but leaks later; gasket notably thinner.
Implement mandatory 24hr or post-cycle re-torque schedule
Material & Environment
Chemical Attack
Swollen, sticky, mushy, or completely dissolved into fluid.
Verify all chemical compatibility data rigorously
Thermal Degradation
Rock hard, brittle, charred, snapped directly in half.
Review max operating temps & thermal excursions
Extrusion / Blow-out
Material missing from ID, torn, or blown clean out.
Upgrade material strength or use integral inner rings
Next Steps
Once you've identified the failure mode, fixing it is usually straightforward. These two starting points cover most situations we see.
Request Expert Diagnostics
Send us photos of the failed gasket and flange faces, along with your application conditions (media, temperature, pressure). Our engineering team will analyse it — no charge.
Browse Technical Library
Installation guides, chemical compatibility charts, and material selection tools — all in one place. Start with the topic that matches your failure mode.
Explore Further
Disclaimer
This guide is provided for general engineering reference only and does not constitute professional advice, specification, or guarantee of performance. Actual results depend on specific application conditions. Universal Gaskets Pty Ltd accepts no responsibility or liability for decisions made based on this information. For full terms, see our Terms & Conditions.